
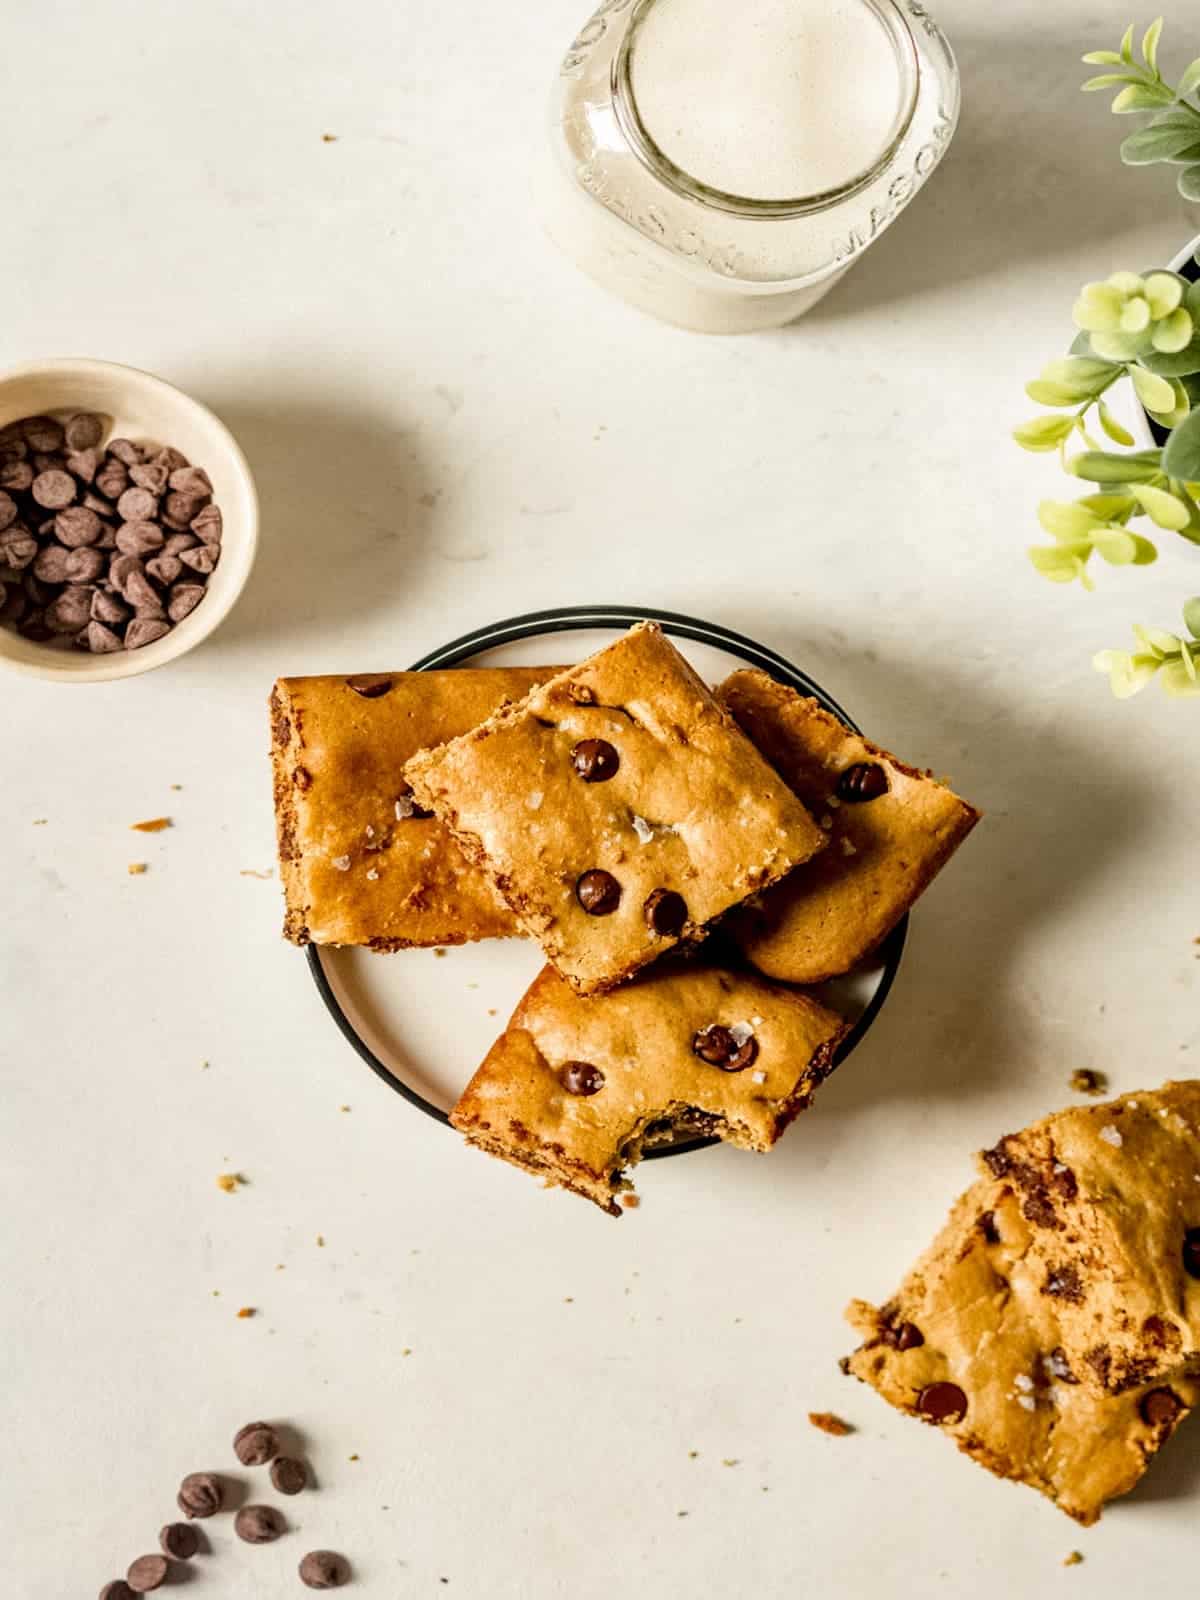
These Gluten-Free Tahini Cookie Bars are oil-free, nutty and perfectly sweet. The addition of chocolate chips makes them the perfect dessert to bring to your next party!
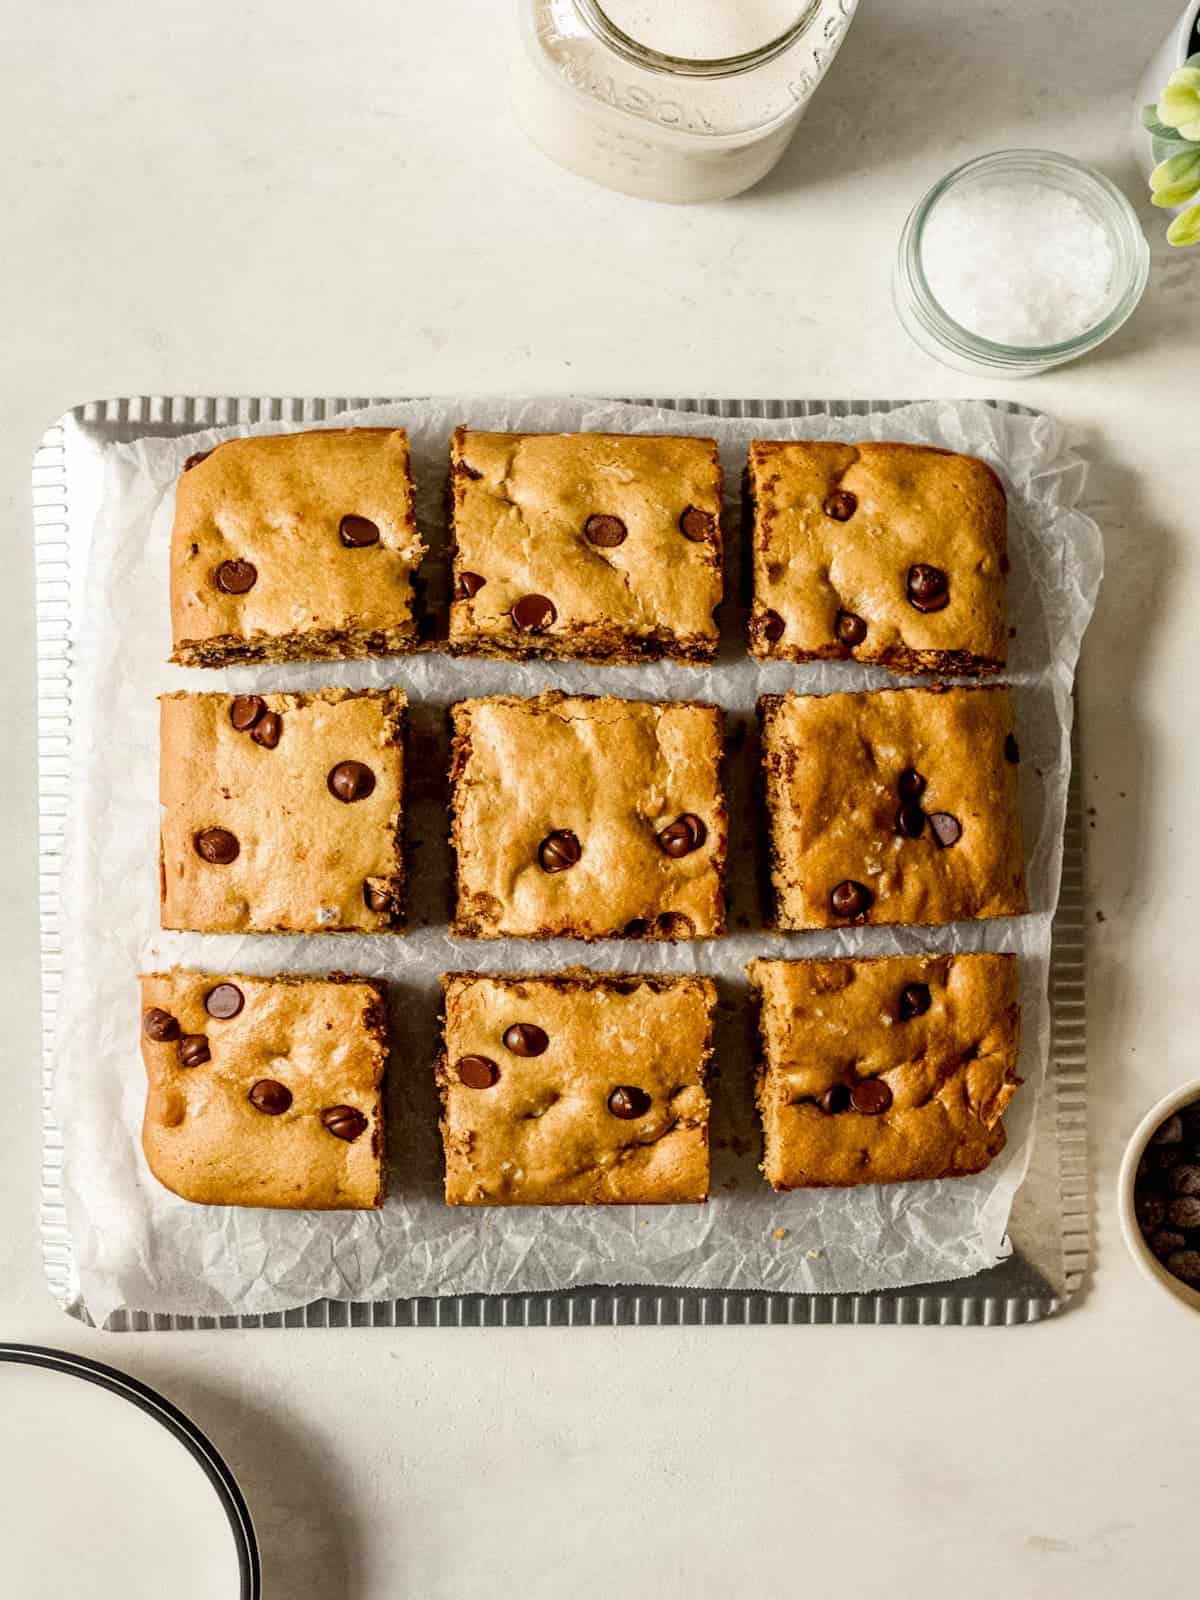
This recipe is a mix between chocolate chip cookies and a cake. You can use all-purpose or gluten-free 1:1 baking flour. I have tested the recipe with both types of flour and they came out perfect each time. My favorite gluten-free flour is Bob's Red Mill.
If you want to read more about tahini options then you should check out this article. I am not a tahini expert but you can use it similarly to how you would use peanut butter or any other nut butter. If you prefer peanut butter, you will like my Peanut Butter Gluten-Free Cookie Bars.
Ingredients
You'll find full recipe quantities in the recipe card below, but here are a few key ingredient notes.
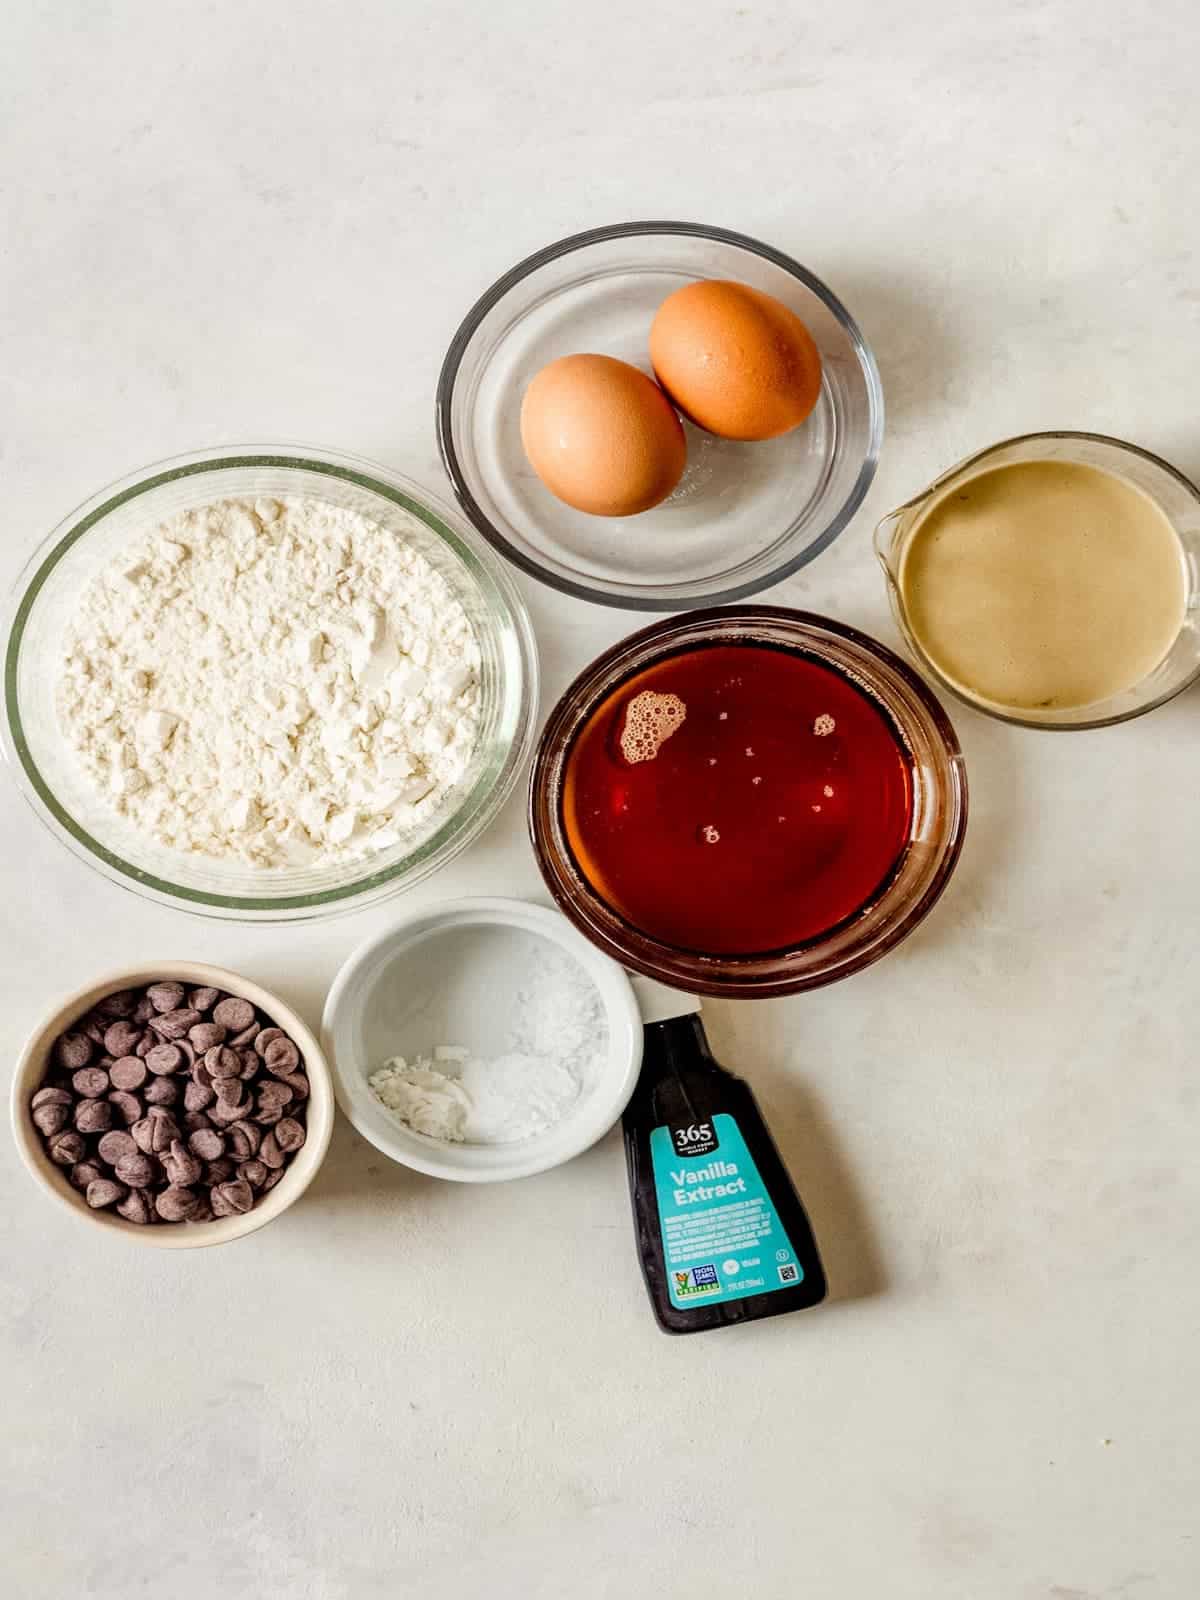
- Flour- gluten-free 1:1 baking flour or all-purpose flour will both work in these tahini cookie bars.
- Tahini- I like Soom and Whole Foods' 365 brand tahini.
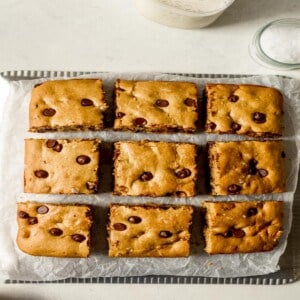
- Chocolate chips- milk chocolate, dark chocolate, semi-sweet, any will work.

Instructions
Begin by preheating the oven to 350 degrees F. Next, combine the dry ingredients in a bowl. In another bowl, whisk together the wet ingredients.
Add the dry ingredients to the wet ingredients, fold in the chocolate chips then pour the batter into the greased baking dish.
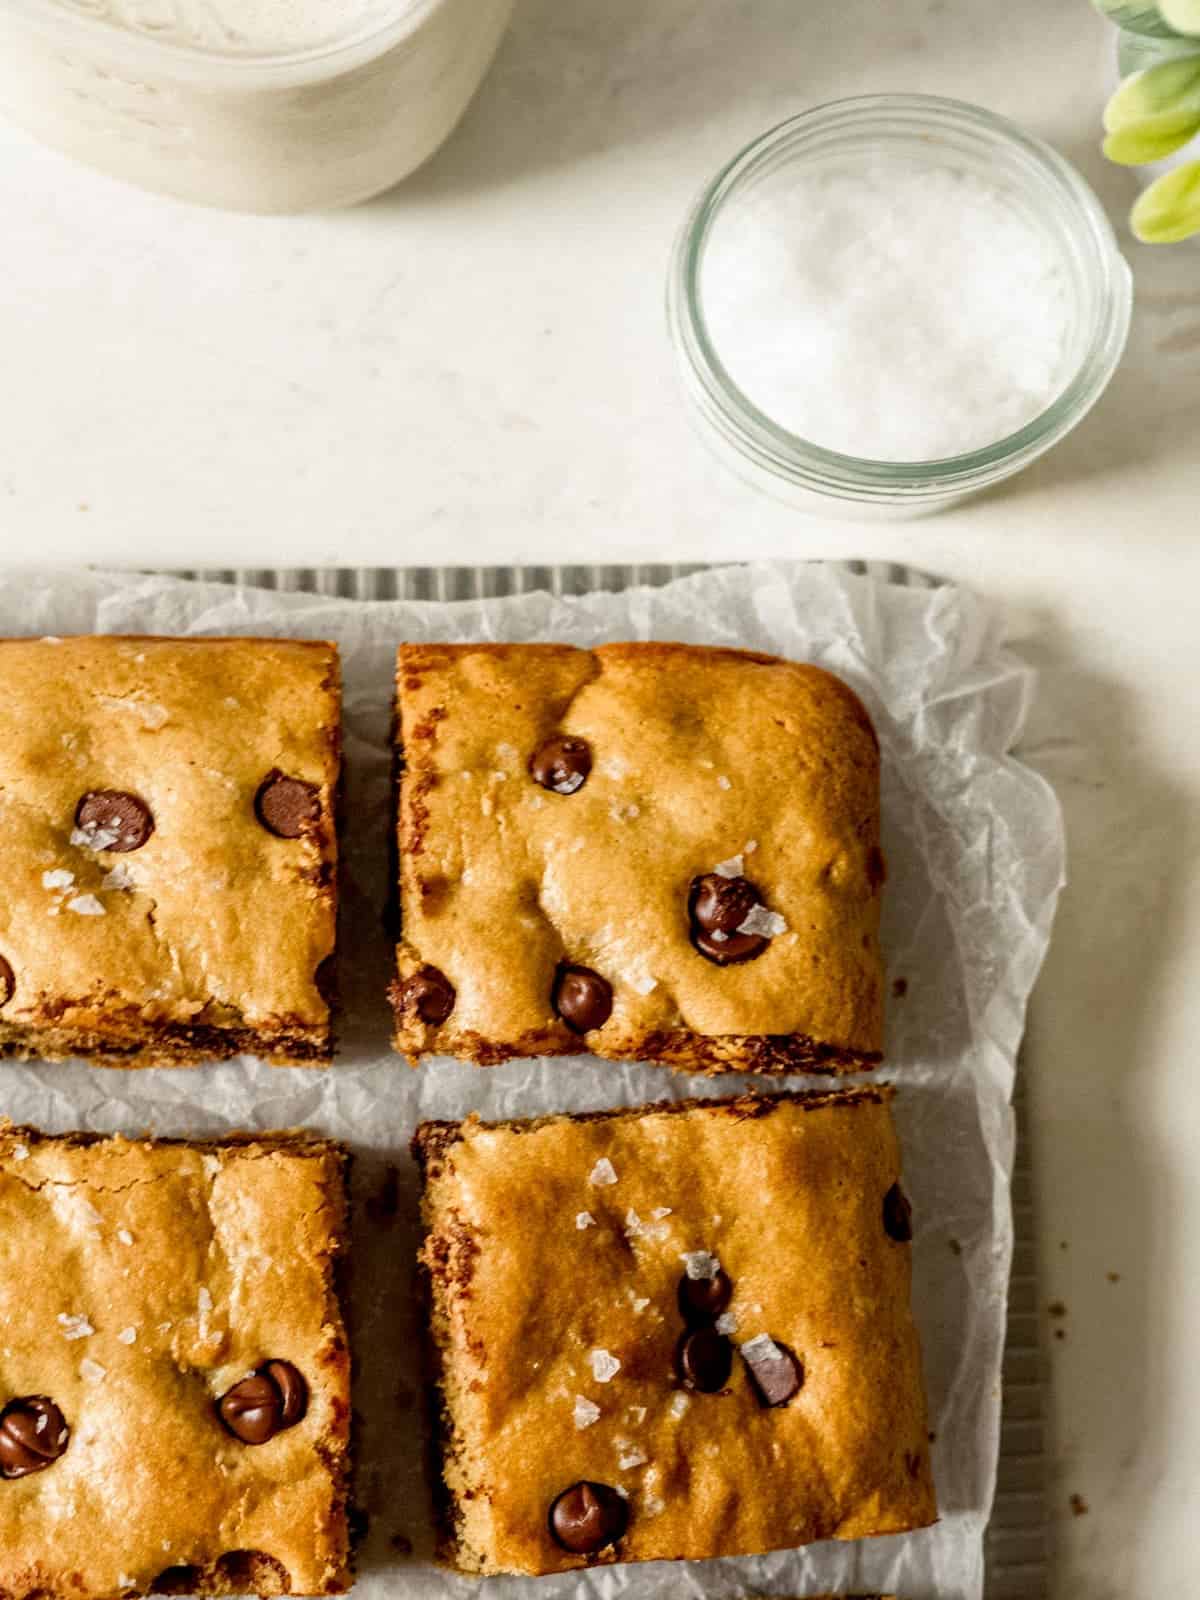
You can top the batter with additional chocolate chips and some flakey sea salt. Then bake for 20-25 minutes at 350 degrees F and enjoy!
Similar Recipes
Gluten-Free Lemon Blueberry Muffins
Double Chocolate Gluten-Free Brownies
Honey and Olive Oil Oat Flour Cake
Gluten-Free Chocolate Chip Tahini Cookie Bars
Video
Save this Recipe!
See the full post for extra tips and photos
Ingredients
- ⅔ cup gluten-free all-purpose or all-purpose flour
- ½ teaspoon baking powder
- ½ teaspoon baking soda
- ½ teaspoon salt
- ½ cup tahini
- 1 teaspoon vanilla extract
- 2 eggs
- ½ cup maple syrup
- ½ cup chocolate chips
Instructions
- Preheat oven to 350 degrees F. Grease an 8x8 or 9x9 inch baking dish with cooking spray.
- Combine the dry ingredients in a bowl and set aside. In another bowl, add the wet ingredients and mix to combine.
- Add the dry ingredients into the wet ingredients and whisk until smooth. Fold in the chocolate chips.
- Pour the batter into the baking dish. Sprinkle with additional chocolate chips & sea salt (optional).
- Bake for 20-25 minutes. Allow to cool for 15-20 minutes, slice into equal-sized pieces and enjoy!
Barbara says
Tasty bar with nice texture. I used King Arthur’s Gluten Free all-purpose flour (no added xanthan gum). They are more cake-like than I expected. I baked them in an 8x8 pyrex pan at 350 degrees for 25 minutes and they came out perfectly done and not overly brown. I cannot eat chocolate so used carob chips, which seemed to sink mostly to the bottom. Another time I will sprinkle some on top before baking. Added walnuts and they taste great with the tahini.
Sarah Holt says
Hi Barbara, I'm glad you enjoyed these. They are a little more cake-like, I agree. I'm glad you were able to make them work for your dietary needs 🙂
Chris says
I was excited to try this, but I don't know how it was really supposed to taste, because at barely 18 minutes of cooking time, the bottom burnt BLACK! Instructions say 20-25 minutes, and I know all ovens are different, but it would have been near-incinerated!
It could've been partly because I used a slightly different-sized pan, 8x6x2, but I don't think it was entirely that. Make sure to check it around 15 minutes max!
We scraped off the bottom of each piece and ate it anyway, but it was very dry. Well, at least it was still relatively healthy!
Sarah Holt says
Hi Chris, I'm sorry to hear this happened to you. What type of pan did you use? I want to make sure this doesn't happen to anyone else. If you want to make them again, I suggest cooking for about 15 minutes, this should also help ensure they're not dry. Let me know if I can be of any help!